DTF printing opens up so many possibilities for customizing clothing, but the design is only one part of the equation. The final step, heat pressing, is the most important part of the process. It’s the moment when the heat, pressure, and time all come together to fuse your transfer onto the garment, creating a durable and vivid design that will last.
You can’t just press every fabric the same way, though. Different materials like cotton, polyester, nylon, and blends all have their own specific needs. Using the wrong settings can lead to several problems: your design might not adhere properly and peel off, or you could end up with a ruined, scorched garment. That’s why knowing the right settings for each fabric is key to getting a perfect result every single time.
American HTV has your roadmap to success. This guide breaks down the exact steps for every fabric, guaranteeing you get perfect results every single time.
What Are The Basics of DTF Pressing?
The majority of DTF transfers are pressed within a range of 280–320°F (138–160°C) for 10–20 seconds using medium to firm pressure. However, these are only general guidelines. The exact settings you use must be fine-tuned based on the specific fabric you are working with.
Temperature: A temperature that’s too low won’t properly activate the glue, leading to a weak bond. A temperature that’s too high can scorch the fabric or ruin the design.
- Pressure: Too much pressure can flatten the design or the fabric, while too little will result in weak adhesion and cause parts of the print to peel off over time.
- Time: Getting the time right is crucial for a print that will last through many washes.
Pressing DTF Transfers on Cotton
Cotton is a great choice for DTF printing because it’s so forgiving. It’s a durable fabric that can handle higher heat and bonds perfectly with the DTF adhesive, making it the easiest material to get started with.
Settings for Cotton:
- Temperature: 310–320°F (154–160°C)
- Time: 15–20 seconds
- Pressure: Medium to firm
- Peel: Cold Peel. This is very important for cotton. You must let the transfer cool completely before you peel the film away. Rushing this step can lead to the design tearing or not sticking properly.
Once it’s fully cooled, you can peel the film away to reveal a clean, sharp, and durable print.
Tips for Pressing on Cotton
Cotton is a perfect material for beginners, and a few simple steps can make your results even better.
Before you apply your transfer, pre-press the shirt for 5-10 seconds. This crucial first step removes any moisture and wrinkles from the fabric, giving you a perfectly smooth, dry surface for your transfer to bond to.
Another great thing about cotton is that it holds up perfectly to a second press.
- After your first press, peel away the film.
- Cover the design with parchment paper or a finishing sheet.
- Press the garment a second time for another 5-10 seconds.
- This extra step helps to smooth out the print, giving it a soft, professional-looking matte finish.
Pressing DTF Transfers on Polyester
Polyester garments present a unique challenge because of their sensitivity to heat. Applying too much heat can lead to two main problems: an unwanted shine or burn marks on the fabric, and a phenomenon called dye migration. This happens when the garment’s dye bleeds into your print, ruining the design. This risk is especially high with deep red or dark-colored polyester.
Suggested Settings for Polyester:
- Heat: 280–290°F (138–143°C)
- Duration: 10–15 seconds
- Force: Medium pressure
- Peel: Wait for it to cool completely (cold peel).
Pro Tips for Working with Polyester:
- Prevent Dye Bleed: To keep your colors clean and sharp, always stick to the lowest recommended temperature. Using specialized low-temp DTF films can also act as a shield against dye migration, ensuring a strong bond at a safer heat level.
- Quick Pre-Press: If you pre-press the fabric, keep it to a very quick 3-5 second burst. This removes moisture without risking heat damage to the delicate fibers.
- Skip the Second Press: A second press is generally not recommended for polyester to avoid a sticky feel or fabric scorching.
Pressing DTF Transfers on Nylon
Nylon is a trickier material to press than most. Its smooth surface and tight weave make it difficult for standard adhesives to get a strong grip. Because of this, you’ll often need to use a specialized low-temp film or a nylon-specific adhesive powder to ensure your transfer bonds correctly.
Recommended Settings for Nylon:
- Temperature: 285–295°F (140–146°C)
- Time: 15–20 seconds
- Pressure: A firm, strong press
- Peel: Cold peel
A Few Pointers for Working with Nylon:
- Test Before You Start: Always do a small test press on the garment before you begin a full production run. This is the only way to confirm your settings are perfect for that specific type of nylon.
- Tweak if Needed: If your transfer doesn’t bond well, try a little more pressure or add a few seconds to your press time.
- The Second Press: For items like jackets or windbreakers, a quick second press with a finishing sheet can help lock the transfer into the fabric, making the bond extra secure.
- Avoid Scorch Marks: Be careful not to overheat the fabric. Using temperatures above the recommended range can easily leave a shiny, permanent mark.
Pressing DTF Transfers on Blends
Blended fabrics (like cotton-poly or tri-blends) are a great middle ground, but they require a careful balance. The goal is to use enough heat to properly bond with the cotton fibers while keeping the temperature low enough to prevent scorching or dye migration from the polyester.
Suggested Settings for Blends:
- Temperature: 300–310°F (149–154°C)
- Time: 12–15 seconds
- Pressure: Medium to firm
- Peel: Cold peel
Pro Tips for Blends:
- Test, Test, Test: Blends can have wildly different ratios, so the best approach is to always do a small test press on a hidden section of the garment first. This will help you find the perfect settings for that specific material.
- Refine with a Second Press: After the initial press, a quick second press with a finishing sheet or parchment paper can help smooth out the edges of the transfer. This final step gives your print a clean, professional, and polished look.
Pro Tips for a Perfect Press
Beyond the basic time and temperature settings, these small habits can make a huge difference in the quality and durability of your final print.
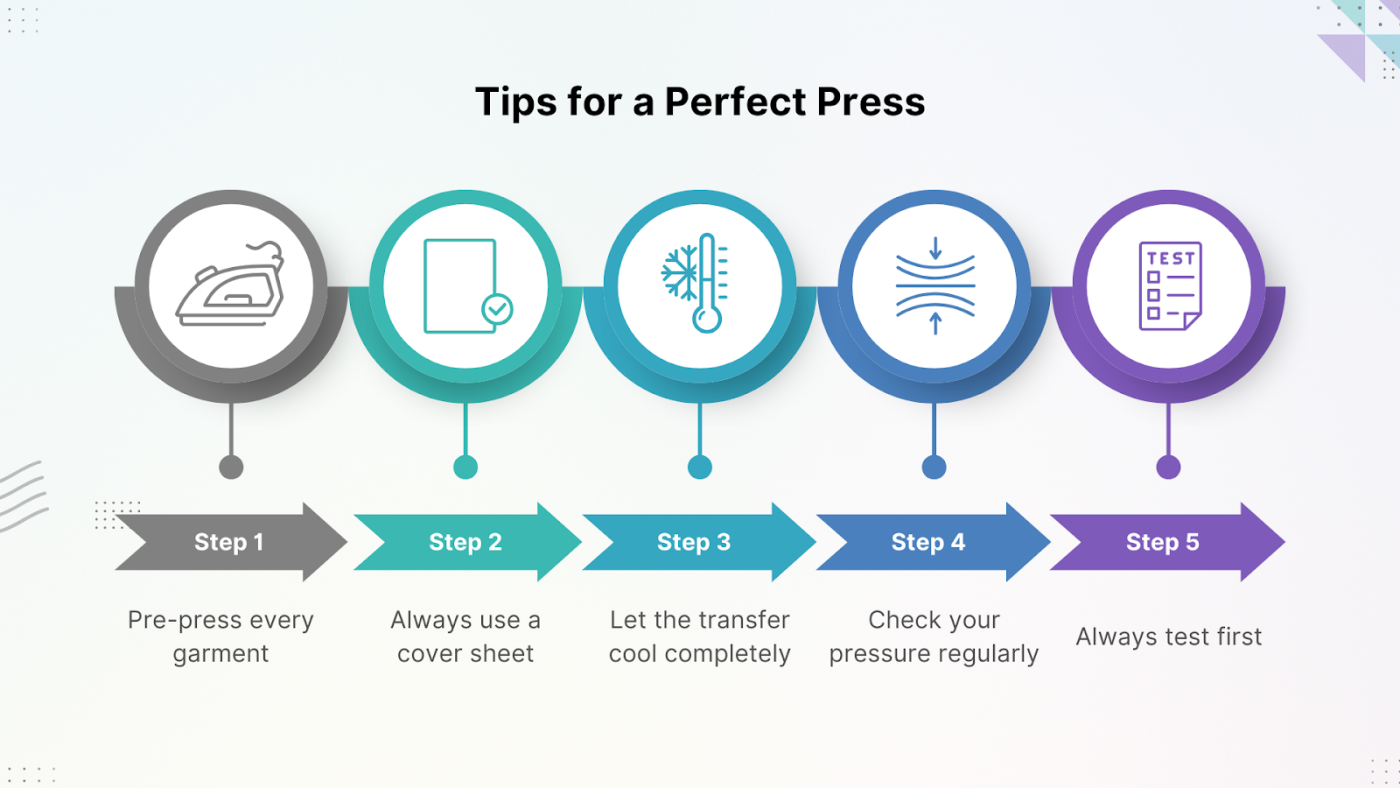
- Pre-press every garment. Moisture in the fabric can create steam during the press, which weakens the adhesive’s bond. A quick 5-10 second pre-press is all it takes to get rid of moisture and wrinkles and ensure a perfect surface.
- Always use a cover sheet. Placing a sheet of parchment paper or Teflon over your transfer protects both your garment from scorch marks and your heat press from any stray adhesive.
- Let the transfer cool completely. Peeling a transfer too early will cause it to tear or not bond fully. Wait at least 30-60 seconds, or until the film is completely cool to the touch, before you peel.
- Check your pressure regularly. Uneven pressure is a common reason for patchy, incomplete adhesion. Ensure your heat press is level and the pressure is consistent across the entire platen.
- Always test first. Before you start a big order, do a test print on a scrap piece of fabric. This is especially important for tricky materials like polyester and nylon. One test can save you from ruining a whole batch of shirts.
Why Do These Steps Matter Most?
The pressing stage is the crucial last step that seals the deal, determining how well your design will hold up. Getting it right ensures:
- Long-Lasting Results: Your transfers will be resilient, surviving numerous washes without cracking or peeling.
- True Color: The colors will retain their original vibrancy, preventing them from looking faded or dull over time.
- A Polished Look: You’ll achieve a smooth, consistent bond with clean edges, giving your product a high-quality, professional finish that everyone desires.
What do we provide?
At American Dallas, we’re with you every step of the way from file prep to the final press. We don’t just supply DTF films; we provide solutions designed to make your job easier. Our films are engineered with adhesives that bond strongly to a wide range of fabrics, including cotton, polyester, nylon, and blends, even at lower temperatures.
Whether you’re pressing your very first shirt or running a full production job, using the right pressing instructions and high-quality films makes all the difference. That’s why countless creators trust American Dallas to back their work with reliable materials and expert guidance.
Frequently Asked Questions (FAQs)
Q: Why do pressing instructions vary between different fabrics?
Different fabrics bond differently with the adhesive, requiring specific settings for a perfect result.
Q: Why are my transfers peeling after pressing?
This is usually due to insufficient pressure or not enough press time.
Q: Why do my prints fade after washing?
Your adhesive likely wasn’t fully cured; ensure you follow our recommended time and temperature.
Q: How can I prevent dye migration on polyester?
Use lower temperatures and our specialized low-temp films.
Q: My transfer looks patchy after pressing; what is the cause?
This indicates uneven pressure; check that your heat press is level.